
GAME TRANSLATE · SNES GUIDE
Kenyuu Densetsu Yaiba
Orbs & Items
All 17 orbs, every weapon and outfit, the shops, prices and what enemies drop, read from the game’s own tables.
Yaiba has no magic menu: its “spells” are the orbs. Seven legendary orbs are guarded around Japan, and a handful of smaller ones heal, buff or turn enemies into money. This page lists all of them with where to find them, plus every piece of equipment, the shops and the drop tables. Numbers come straight from the ROM tables and were checked by buying, equipping and using the items in the patched game.
Nothing on this page matches your search. Try a shorter word, or clear the box.
The 17 orbs
Fifteen orbs can be collected. Select an attack or buff orb with R and use it with A; this only works while Yaiba holds the RAIJIN SWORD (or Rai the TOSHIN SWORD). The healing orbs work differently: see below.
| Orb | Effect | MP | Used by | Where | |
|---|---|---|---|---|---|
| RAIJIN ORB | Lightning bolt straight ahead (power 350) | 35 | Yaiba / Rai | Musashi gives it when Yaiba draws the Raijin Sword (Part 2) | |
| FIRE ORB | Ring of fire around you (power 250) | 20 | Yaiba / Rai | Mt. Aso crater: Amakusa (Part 10) Taken by the Dragon God. | |
| WATER ORB | Water pillars around you (power 300) | 25 | Yaiba / Rai | Lake Biwa: Miyoshi Seikai Nyudo (Part 8) Taken by the Dragon God. | |
| ICE ORB | Ice wave in a straight line (power 300) | 25 | Yaiba / Rai | Hokkaido bridge: Benkei (Part 11) Taken by the Dragon God. | |
| DARK ORB | Cannot be used (it pulled you into the Dark World) | – | – | Niigata / Dark World: Water Flea Man (Part 12) Story orb. Taken by the Dragon God. | |
| GOLD ORB | Turns a normal enemy into money or an item | 15 | Yaiba / Rai | Mt. Tsurugi, Kotaro’s cave: Fuma Kotaro (Part 6) Bosses are immune. Taken by the Dragon God. | |
| BIG ORB | Cannot be used | – | – | Osaka Onimaru Castle: Ishikawa Goemon (Part 9) Story orb. Taken by the Dragon God. | |
| JACKPOT ORB | Cannot be used; it talks | – | – | Aomori temple: Matsuo Basho (Part 7) Story orb. Taken by the Dragon God. | |
| DRAGON ORB | Four shots in one: Raijin, Fire, Water or Ice (press R to cycle) | 20 | Yaiba | Dragon God’s Fortress: the five trials (Part 14) | |
| STAR ORB | Healer casts 10 HP on you | 10 | Sayaka / Fuu | Sayaka’s house (start) (Part 1) Cast when you are missing 10+ HP. | |
| MOON ORB | Healer casts 100 HP on you | 50 | Sayaka / Fuu | Aomori, sealed stone in the north-east (Part 7) Cast when you are missing 100+ HP. | |
| LIGHT ORB | Healer casts 999 HP on you | 100 | Sayaka / Fuu | Osaka, only 00:00–04:59 (Part 9) Cast when you are missing 200+ HP. | |
| PEARL ORB | Healer casts 50 HP on both players | 20 | Sayaka / Fuu | Mt. Tsurugi plateau, stone (Part 6) Only when both players are missing 50+ HP: a 2-player orb. | |
| WOOD ORB | Doubles DEFENSE for 600 frames (about 10 s) | 10 | Yaiba / Rai | Niigata, the sacred tree (Part 12) One buff at a time (WOOD or POWER). | |
| POWER ORB | Doubles ATTACK for 600 frames (about 10 s); doubles EXP too | 30 | Yaiba / Rai | Hokkaido, fenced pasture stone (Part 11) One buff at a time. | |
| CORAL ORB | “DEFENSE DOUBLES” (same text as the WOOD ORB) | 10 | – | Not obtainable No chest, event or shop gives it. | |
| EARTH ORB | No description | – | – | Not obtainable No chest, event or shop gives it. |
⚠ The Dragon God keeps seven of them
Right before his trials (Part 13) the FIRE, WATER, ICE, DARK, GOLD, BIG and JACKPOT ORBS are removed from your bag. You keep the RAIJIN, WOOD and POWER ORBS and all healing orbs, and receive the DRAGON ORB afterwards. Use the GOLD ORB to stock up on MEAT and REVIVAL LEAVES before that point.
Orb damage and weather
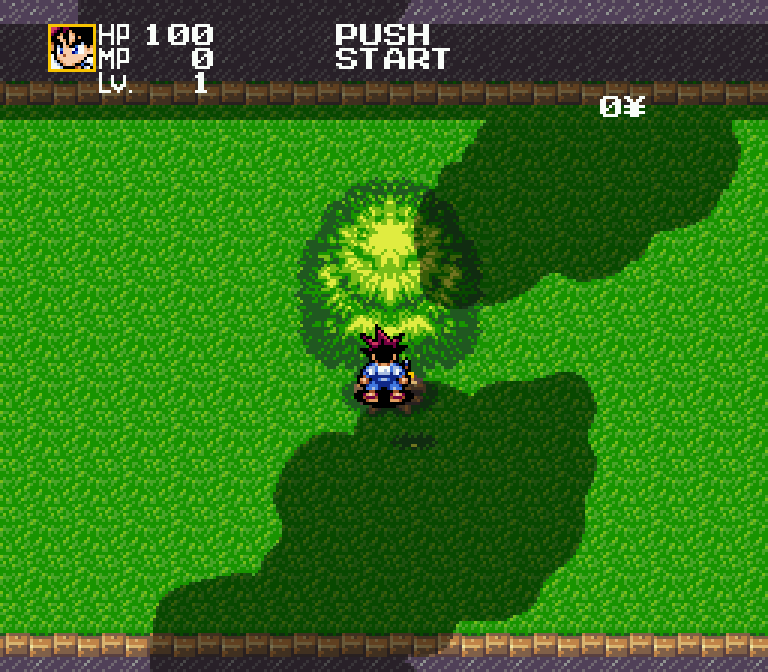
Attack orbs have a base power instead of your ATTACK, and the game scales it by the current weather. Damage is then reduced by the target’s DEFENSE as usual. Orb hits never give EXP.
| Orb | Base power | Clear | Clouds | Rain |
|---|---|---|---|---|
| RAIJIN ORB | 350 | ×0.8 | ×1.0 | ×1.2 |
| FIRE ORB | 250 | ×1.1 | ×1.0 | ×0.7 |
| WATER ORB | 300 | ×0.8 | ×1.0 | ×1.4 |
| ICE ORB | 300 | ×0.7 | ×1.0 | ×1.2 |
Measured in the patched game: the RAIJIN ORB’s shot has 280 power on a clear night, 350 under clouds and 419 in the rain. Clear includes clear nights. The game keeps the weather running indoors too, where you cannot see it, so the same scaling probably applies there (we measured it outdoors). The schedule is on the Secrets page.
How the healers use orbs
Sayaka and Fuu never attack. Call one of them out with L and she follows you and casts the best healing orb you own on whichever player is more hurt, as long as she has the MP:
| Orb | Heals | MP | Cast when |
|---|---|---|---|
| LIGHT ORB | 999 | 100 | you are missing 200 HP or more |
| MOON ORB | 100 | 50 | missing 100 or more |
| STAR ORB | 10 | 10 | missing 10 or more |
| PEARL ORB | 50 to both players | 20 | both players are missing 50 or more |
So the LIGHT ORB is the one that matters late in the game, and the PEARL ORB is only ever cast in a 2-player game. Healers spend their own MP; resting refills it.
Weapons
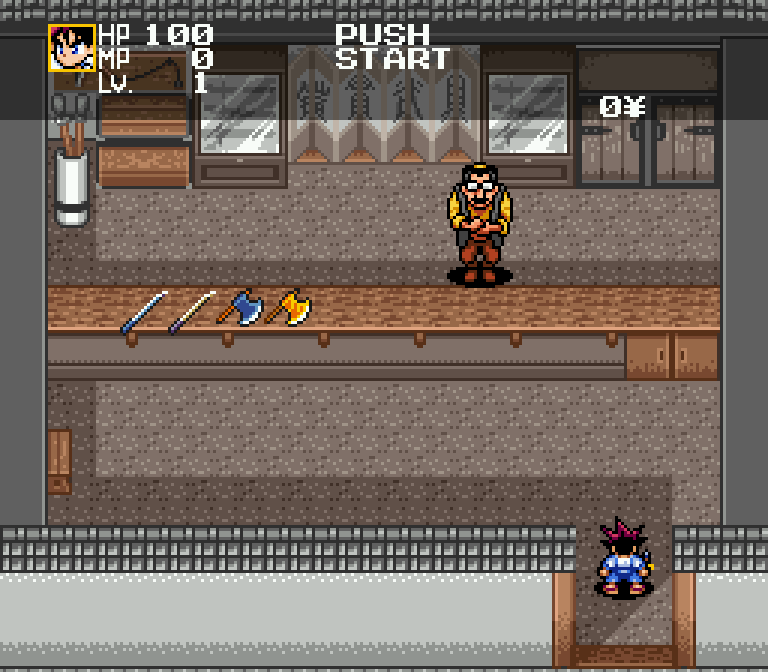
ATTACK = your level’s base attack × the weapon’s multiplier (rounded down). Special moves need the RAIJIN SWORD (Yaiba) or TOSHIN SWORD (Rai): with any other sword Yaiba and Rai can only swing normally and cannot use orbs. So the shop swords are for Jubei, Kojiro and Musashi, and the axes for Gerozaemon. Healers carry no weapon.
| Weapon | ATTACK | Who | Buy / sell | Where |
|---|---|---|---|---|
| BAMBOO SWORD | ×1.00 | Yaiba, Rai | 1000 / 500 | Starting weapon. No special moves or orbs with it. |
| RAIJIN SWORD | ×1.40 | Yaiba | – / – | Musashi’s house, Mt. Tengu (story, Part 2) |
| TOSHIN SWORD | ×1.40 | Rai | – / – | Mt. Tengu forest, stone (Part 2) |
| RYUJIN SWORD | ×1.50 | nobody | – / – | Never given; no character can equip it (see Secrets). |
| DRYING POLE | ×1.30 | Yaiba, Rai, Jubei, Kojiro, Musashi | 10000 / 5000 | Kojiro’s own sword when he joins. |
| PLAIN SWORD | ×1.10 | same five | 3000 / 1500 | Jubei’s own sword when he joins. |
| GOOD SWORD | ×1.15 | same five | 6000 / 3000 | Weapon shops (Mt. Aso, Lake Biwa, Niigata); chests: Onimaru Castle: Dry Dry’s floor (Part 4); Osaka Onimaru Castle: treasure room 1 (Part 9) |
| FINE SWORD | ×1.20 | same five | 9000 / 4500 | Weapon shops; chest: Mt. Aso: lava cave (Part 10) |
| KIKUICHIMONJI | ×1.25 | same five | 15000 / 7500 | Chest: Onimaru Sky Castle: west wing (Part 13) |
| MURASAME | ×1.35 | same five | 20000 / 10000 | Chests (one hidden in a river rock): Mt. Aso: the path to the volcano (Part 10); Onimaru Sky Castle: lower hall (Part 13) |
| PLAIN WAKIZASHI | ×1.05 | same five | 2000 / 1000 | Musashi’s own sword when he joins. |
| GOOD WAKIZASHI | ×1.10 | same five | 4000 / 2000 | Chest: Onimaru Castle: the last floor below the roof (Part 4) |
| FINE WAKIZASHI | ×1.15 | same five | 6000 / 3000 | Chest: Mt. Tsurugi: small cave 2 (Part 6) |
| PLAIN AXE | ×1.15 | Gerozaemon | 2000 / 1000 | Gerozaemon’s own axe when he joins. |
| GOOD AXE | ×1.20 | Gerozaemon | 4000 / 2000 | Weapon shops; chest: Mt. Aso: the path to the volcano (Part 10) |
| FINE AXE | ×1.25 | Gerozaemon | 8000 / 4000 | Weapon shops; chest: Niigata station (Part 12) |
Clothes
DEFENSE = base defense × the clothes’ multiplier. Every point of DEFENSE comes off every hit you take, so FINE CLOTHES (5000 yen) are the best buy in the game.
| Clothes | DEFENSE | Who | Buy / sell | Where |
|---|---|---|---|---|
| PLAIN CLOTHES | ×1.00 | everyone | 1000 / 500 | What everyone wears when they join. |
| GOOD CLOTHES | ×1.25 | everyone | 2500 / 1250 | Armor shops in Mt. Tsurugi and Aomori. |
| FINE CLOTHES | ×1.50 | everyone | 5000 / 2500 | Armor shops in Mt. Tsurugi and Aomori. |
| SAILOR SUIT | ×1.20 | Sayaka | 10000 / 5000 | Not obtainable as far as we can tell (see Secrets). |
| MIKO OUTFIT | ×1.20 | Fuu | 15000 / 7500 | Not obtainable as far as we can tell. |
Food, drinks and tools
| Item | Effect | Buy / sell | In chests |
|---|---|---|---|
| APPLE | +20 HP | 100 / 50 | 4 |
| RICE BALL | +100 HP | 300 / 150 | 19 |
| MEAT | +999 HP (full) | 500 / 250 | 8 |
| DRINK S | +10 MP | 100 / 50 | 1 |
| DRINK M | +100 MP | 300 / 150 | 5 |
| DRINK L | +999 MP (full) | 500 / 250 | 8 |
| REVIVAL LEAF | Revives a knocked-out member with half HP | 500 / 250 | – |
| MAP | Shows a map of the area you are in | 500 / 250 | – |
| CLOCK | Shows the time of day in the HUD | 1000 / 500 | – |
| HANGING SCROLL | Map of Japan with the orb regions; pick one to travel there (orb hunt) | not for sale | – |
Items in your bag are capped at 18 kinds. Knocked-out members cannot eat or drink; revive them first. Money is shown in yen and tops out at 9,999,990.
Shops and inns
Stock never runs out, and we saw no shop change its stock as the story moves on.
Onimaru Castle (2 shops) — Dungeon shop + save statue (S)
RICE BALL 300 · MEAT 500 · DRINK L 500 · REVIVAL LEAF 500
Mt. Tsurugi town — Item shop · Drugstore · Armor shop
as the home town shops · GOOD CLOTHES 2500 · FINE CLOTHES 5000
Lake Biwa — Weapon shop (W) · Drugstore (D)
GOOD SWORD 6000 · FINE SWORD 9000 · GOOD AXE 4000 · FINE AXE 8000 · drugstore as in the home town
Mt. Aso town — Weapon shop (W)
GOOD SWORD 6000 · FINE SWORD 9000 · GOOD AXE 4000 · FINE AXE 8000
Hokkaido town — Item shop (I)
APPLE 100 · RICE BALL 300 · MEAT 500 · DRINK L 500 · REVIVAL LEAF 500
Niigata town — Weapon shop (W)
GOOD SWORD 6000 · FINE SWORD 9000 · GOOD AXE 4000 · FINE AXE 8000
Sky Castle — Dungeon shop + save statue (S)
RICE BALL 300 · MEAT 500 · DRINK L 500 · REVIVAL LEAF 500
Inns
Drops and the GOLD ORB
💰 Normal enemies
| Drop | Chance |
|---|---|
| 10 yen | 81.25% |
| APPLE | 6.25% |
| DRINK S | 6.25% |
| 100 yen | 6.25% |
One pickup per kill.
🪙 GOLD ORB (15 MP)
| Result | Chance |
|---|---|
| 1000 yen | 12.5% |
| MEAT | 12.5% |
| REVIVAL LEAF | 12.5% |
| DRINK L | 12.5% |
Odds read from the game’s code. Bosses are immune. 1000 yen, MEAT, REVIVAL LEAF and DRINK L are all worth more than their 15 MP.
Credits & sources
Written for Game Translate from our own decode of the game while translating it: the event script, the chest and shop tables, the item, level and boss tables, and runs of the patched game in an emulator. The maps were rendered from the game’s own map data. Structure and the suggested levels were cross-checked against the 2004 GameFAQs walkthrough by vrapong (v1.2), the first English guide to this game. Thanks to its author for charting Yaiba long before a translation existed.
Found a mistake? Leave a comment with your save point and a screenshot.